
Connecting Ledger to a computer should be handled in layers: Ledger Wallet installation, USB path, system permission, and device screen. Checking all four at once makes it harder to know what changed, so the better path is to move through them in order.
Start with Ledger Wallet on the desktop
Before changing cables or ports, make sure Ledger Wallet is installed from the expected entry and opens normally. Use the Ledger Wallet download and installation guide as the software-side starting point. App entry should be settled before hardware connection is judged.
Check USB cable and port as a physical path
Use a cable that supports data, connect directly to the computer when possible, and test one port at a time. If a Mac does not recognize the device, compare with the Mac permission and USB path guide. For Windows, use the Windows driver, port, and screen checklist.
Read system permission prompts separately
Operating systems can ask for permission, device access, or driver handling. These prompts are not the same as a Ledger device prompt. Handle the system prompt, then return to Ledger Wallet and the device screen to confirm whether the state changed.
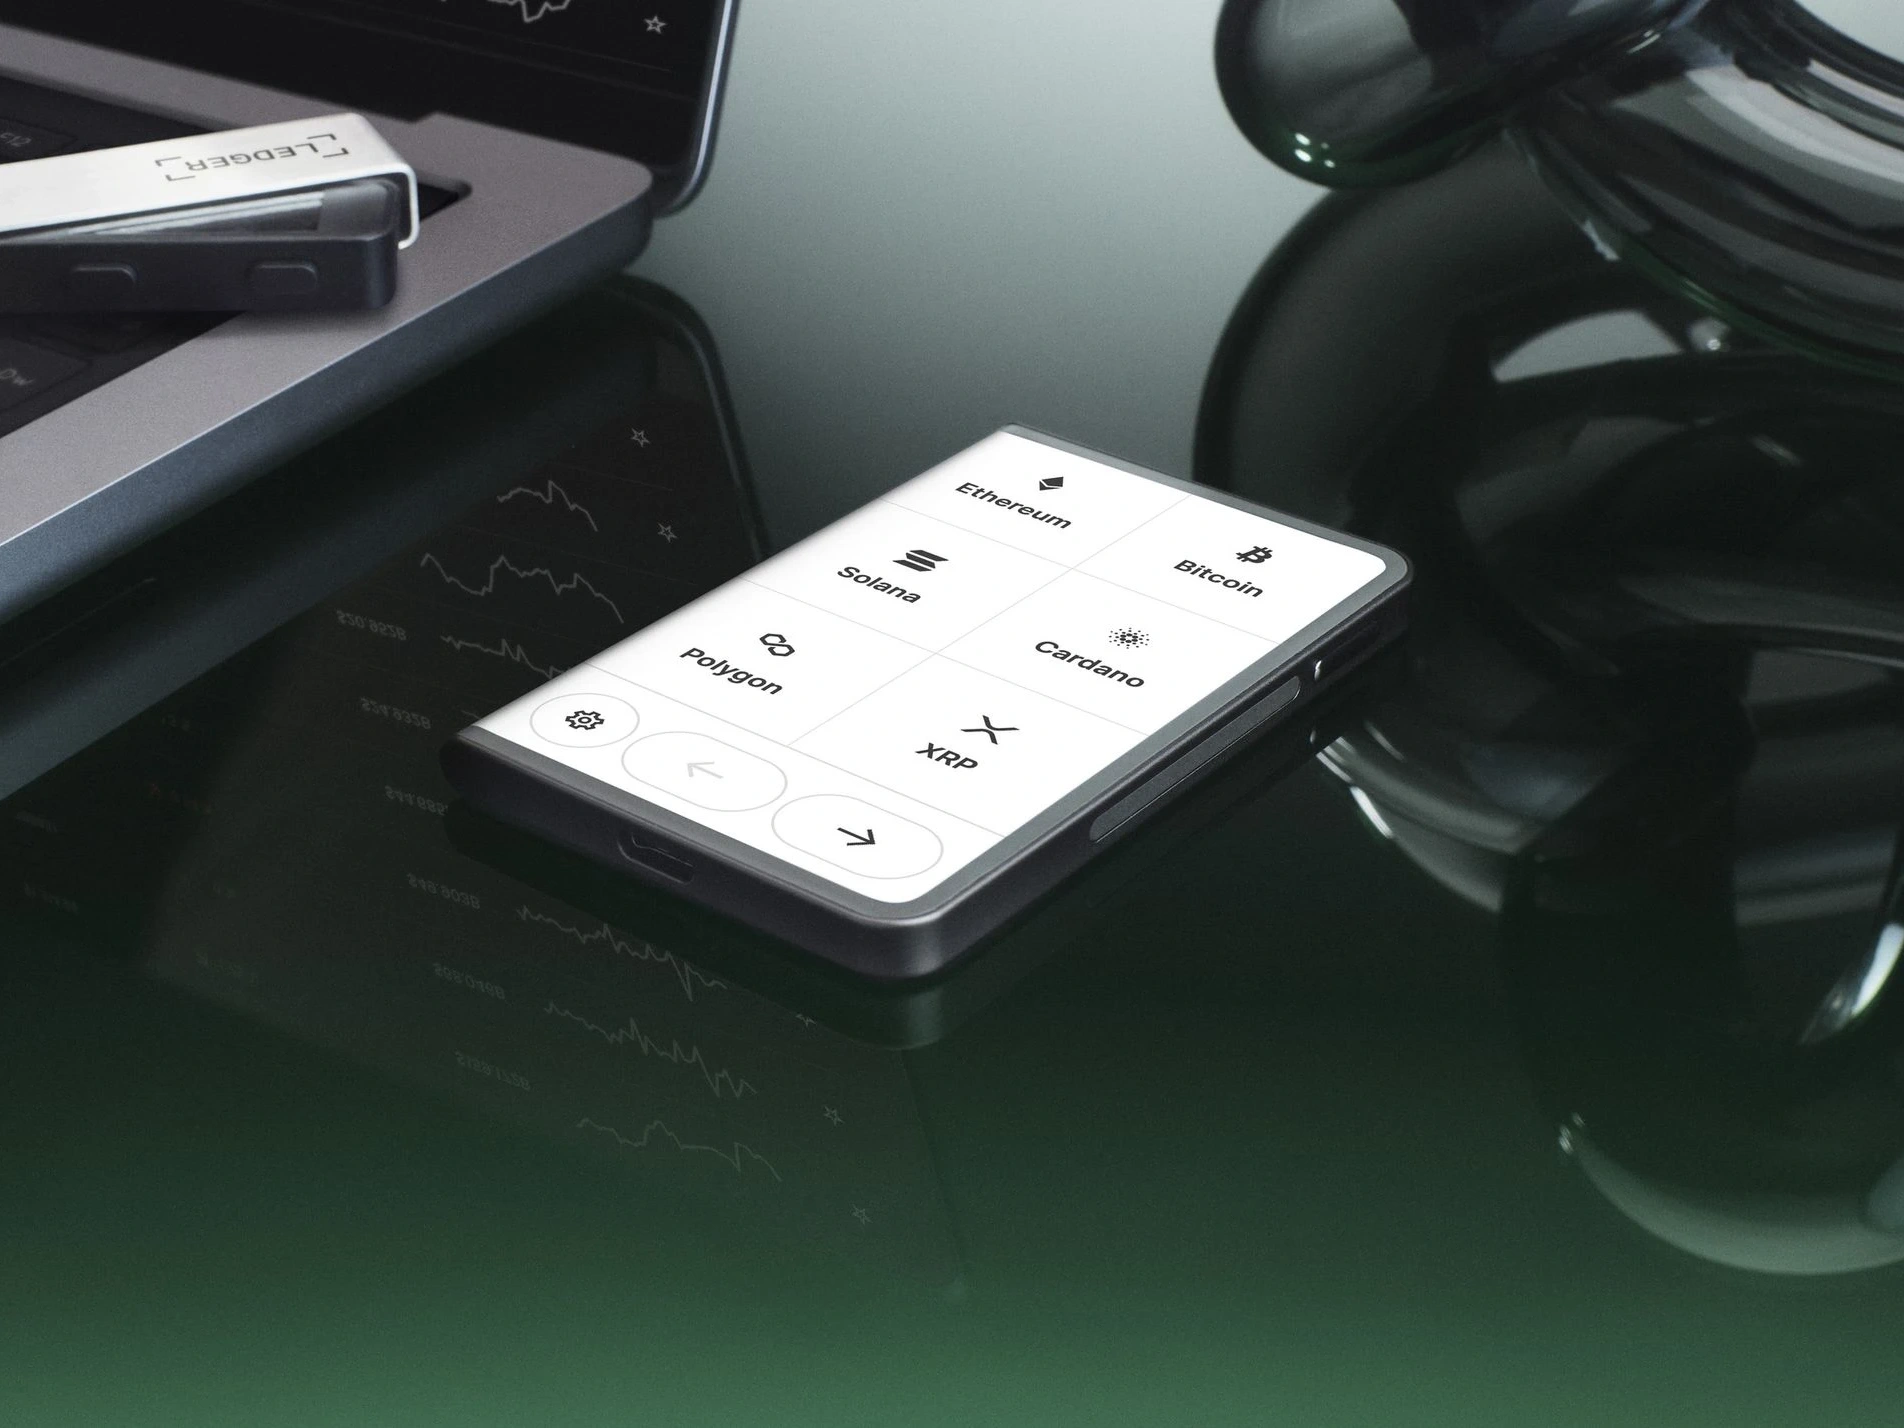
Use the device screen as the final connection cue
The Ledger screen should show whether the device is unlocked, waiting for an app, or asking for confirmation. If the app page still does not move, use the Ledger connection troubleshooting checklist and change only one condition per attempt. This keeps the desktop setup path readable.