Adding an account in Ledger Wallet should be handled as an ordered check, not as a fast sequence of page clicks. The stable order is to confirm the application environment, check the device app, choose the matching account and network, and then review the account display after the account appears.
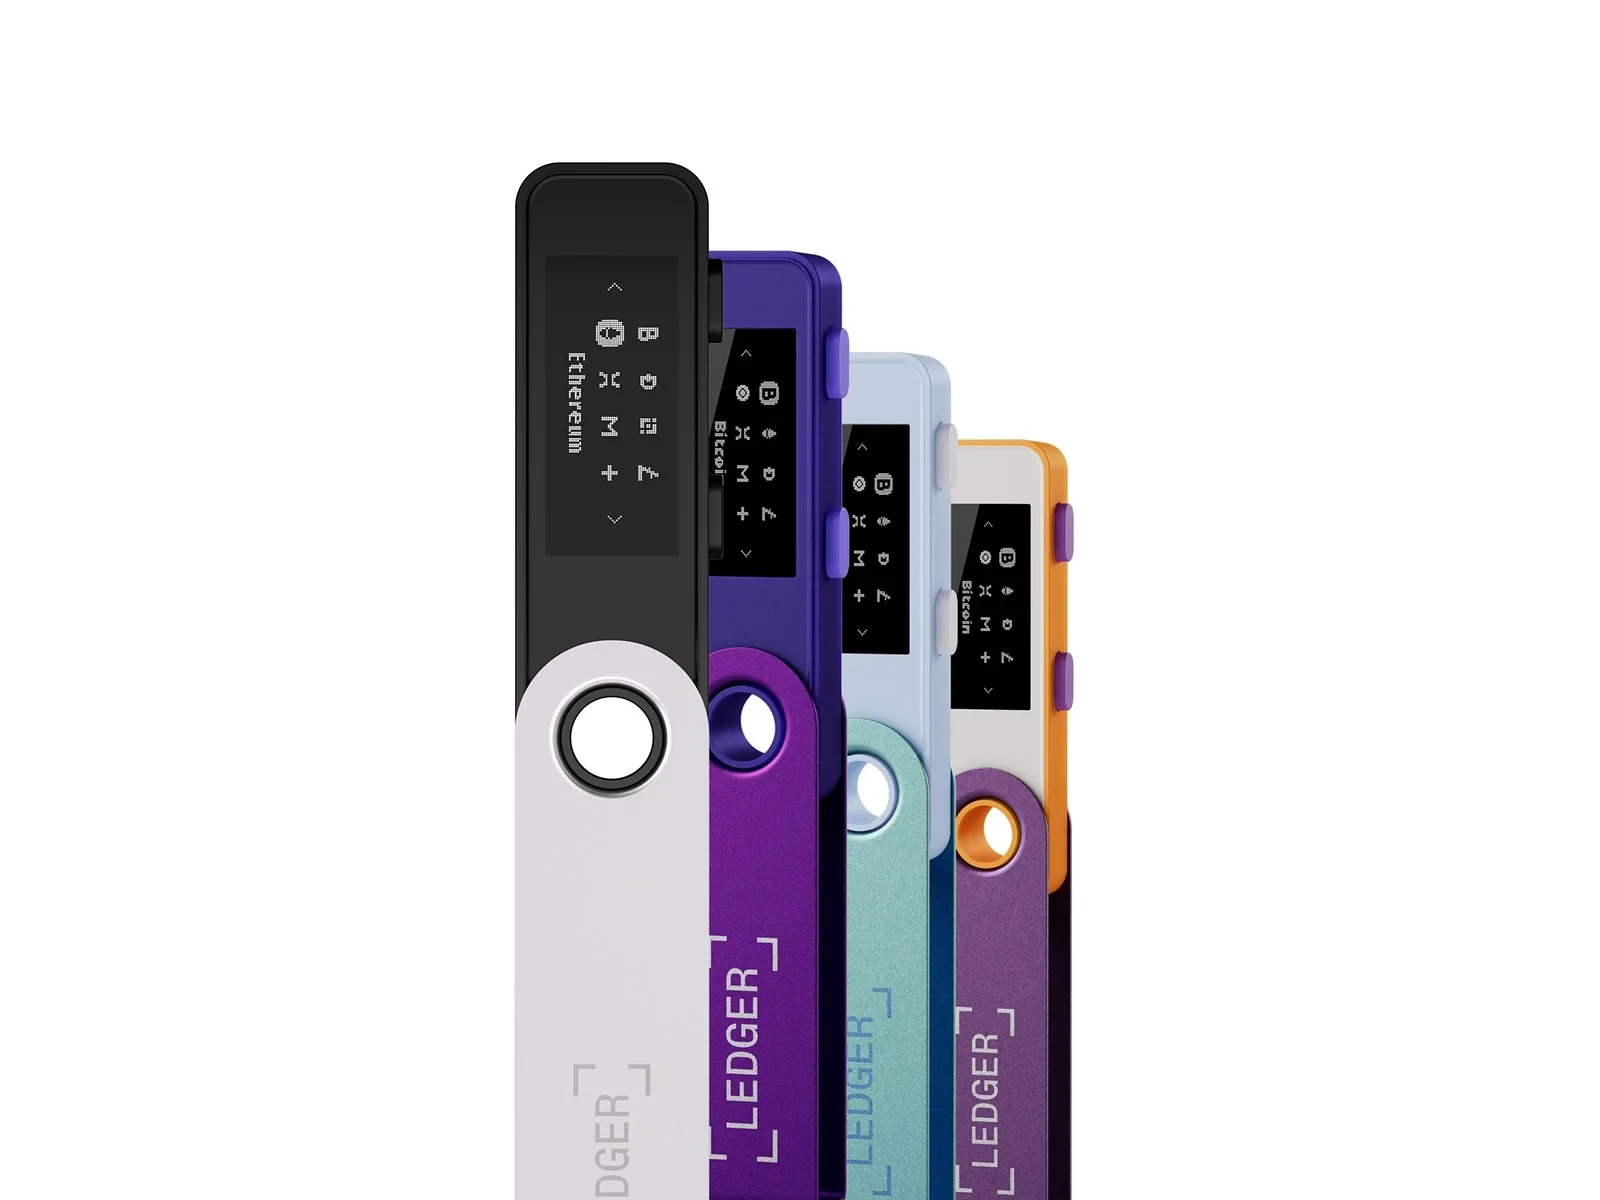
Confirm that Ledger Wallet is ready
Before adding an account, make sure Ledger Wallet is installed, opens normally, and recognizes the device. If the application entry is unclear, start from Ledger Wallet downloads and installs. The application guides the workflow, while the device screen remains the place for important device-side checks.
Check the device app first
Different account views may require the matching app on the Ledger device. Open the application list in Ledger Wallet and confirm whether the relevant device app is already installed. If the workflow becomes unclear after an update, compare the layers in app updates versus firmware updates.
Select the account and network carefully
Similar account names can appear under different networks or account paths. When adding the account, read the network name, account type, and Ledger Wallet prompt before continuing. Do not judge only by a familiar name; match the account view to the application and device screen.
Review the result after adding
- Check that the account appears under the expected network.
- Record the device model, app version, and connection method used during setup.
- If the account view does not refresh, pause and check connection and version before repeating the same step.
This record keeps account display, device app state, and network choice separate, which makes later troubleshooting easier.